The Carving of a Bird (Yellowlegs)
CLICK ON PICTURES TO ENLARGE
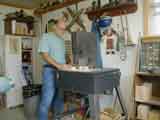
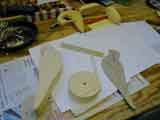
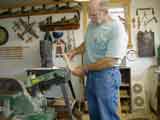
I start by making a drawing of the bird. While the drawing may be simple, I have spent a good deal of time getting it just how I want it. I then cut cardboard templates that can be reused to trace the outline on the wood. The "blanks" are then cut out on a band saw and drilled for the legs and bill.
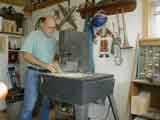
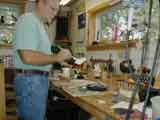
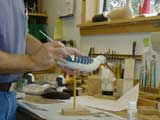
The parts are now ready to go. This bird is made from yellow pine. It is hard! Maybe that is why they make floors out of it. Long ago I discovered I could make these faster and with less pain by using power tools. I start rounding with the band saw then go to a belt sander.
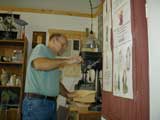
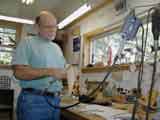
Finish carving is done with a powerful flexible shaft grinder. The bird then gets its eyes and a little character is added with an ice pick.
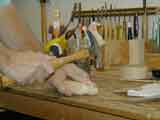
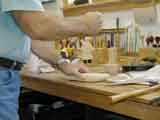
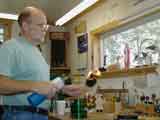
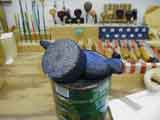
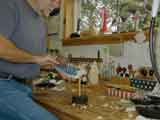
I developed a technique to add several years of "weathering" to yellow pine by setting it on fire. It is then wire brushed (after cooling). I buy new square cut nails from a company that specializes in restoration work. A long, messy process makes these rusty. They are cut to length and glued in.
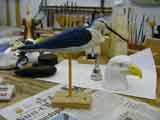
Then comes the paint.
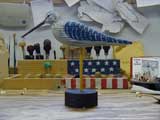
After a little more "weathering" with sandpaper- IT'S A BIRD!
All images © 2006 by Paul H. Umfleet