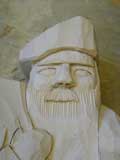
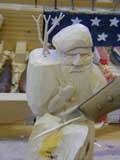
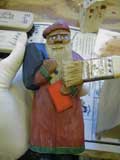
 I like to finish the face first. That way if I mess it up then I haven't wasted a lot of time on the body. I like to finish the face first. That way if I mess it up then I haven't wasted a lot of time on the body. |
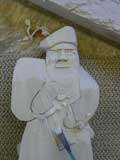 Now I start working down the rest of the front. Now I start working down the rest of the front. |
 |
 |
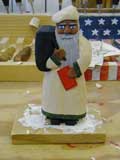
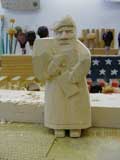 Now the front is mostley done. Now the front is mostley done. |
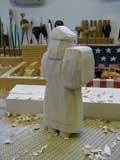
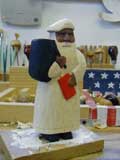
 There is not as much work in doing the back. There is not as much work in doing the back. |
 |
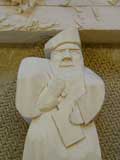
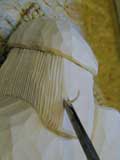 Next the detail work gets done on the hair and beard. Next the detail work gets done on the hair and beard. |
 A few toothpicks are cut up to make the switches. A few toothpicks are cut up to make the switches. |
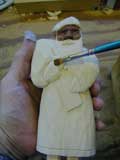 Note the repair on the thumb. Sometimes super glue gets used for that also. Note the repair on the thumb. Sometimes super glue gets used for that also. |
 For paint I have always used inexpensive acrylics made by Apple Barrel and FolkArt. They work fine for me. For paint I have always used inexpensive acrylics made by Apple Barrel and FolkArt. They work fine for me. |
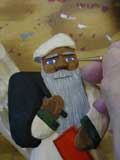 It takes a fine brush and steady hand to paint the eyes. It takes a fine brush and steady hand to paint the eyes. |
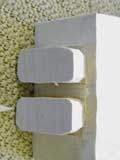
 Ever wonder why there is a hole in the bottom of almost all my Santas? Ever wonder why there is a hole in the bottom of almost all my Santas? |
 They get nailed to a board which I can hold on to while painting. They get nailed to a board which I can hold on to while painting. |
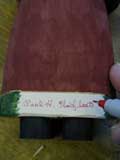 All of my Santas are signed All of my Santas are signed |
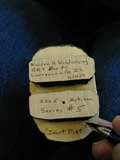 and numbered. and numbered. |
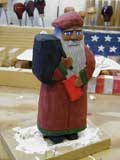
 Since acrylics are very flat I apply a secret blend of polishes. This gives them a sheen and "ages" them a little. Since acrylics are very flat I apply a secret blend of polishes. This gives them a sheen and "ages" them a little. |
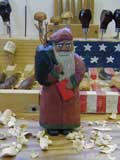 That's all there is to it! That's all there is to it! |
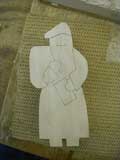
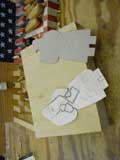 First I do a rough sketch of my Santa. Then I make a template that will be use to cut out the wood blank from 2 inch thick basswood. This sketch and template are used over and over.
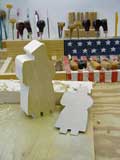
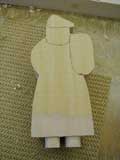
 I pencil in on the blank where I am going to cut.
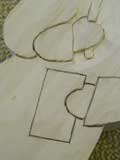 I make what are called "stop cuts" into the wood.
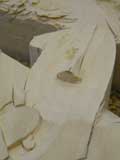 The nose always gets carved first in my method.
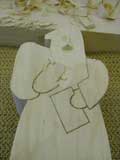 I have never had any classes in Santa carving.
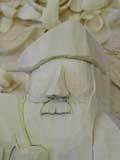 I have just developed this technique after years of practice.
 This is always a little scary. Thank goodness for super glue.
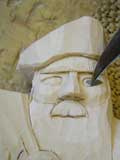 It takes a fine tip knife to cut around the eyes.